
Microsoft Exchange Guide for Mobile (ActiveSync)
By reading this guide article, you will learn about exchange setup for various types of mobile.
Exchange Setup on Android Mobiles
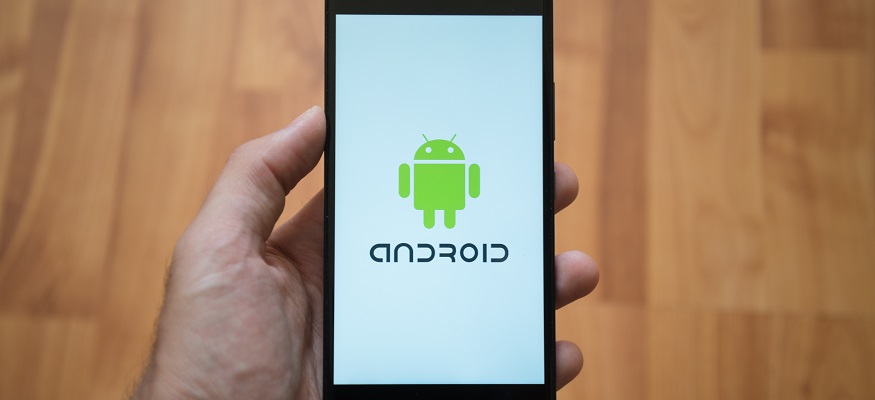
For email and calendars, you can use any Android device.
Like most operating systems, Android is evolving all the time. Your phone or tablet may differ from what is described in this article regarding Google’s standard version, but the most of the settings should still be transferrable.
- Firstly, click Settings.
- Secondly, click Accounts.
- Next, click Add Account.
- Click Microsoft Exchange ActiveSync.
- After that, type in your Email address and Password.
- If you see a Domain\Username field, Type in your full Email address.
If you see Domain and Username as individual entities, Add your full Email address in the Username box, then just leave the Domain box empty.
If you have a Server box, Type in - Then click Next.
- Click OK and your device should try to auto configure itself
- On the next screen choose any Account options you would like to set.
- Click Next.
- If you wish to edit the display name for your email account, Click Microsoft Exchange ActiveSync
- Lastly, click Next to complete the setup
Your email has been configured.
Send an email to yourself or someone with a similar effect as a test to make sure you can send messages.
Exchange Setup on IPHONE & IPAD
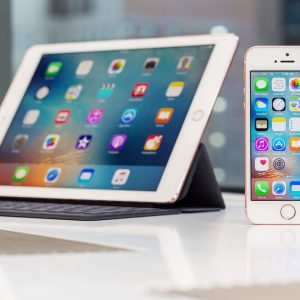
It’s quite simple to synchronise your Apple device with email and calendars; just follow the methods listed below.
- First off, click Settings.
- Next, click Mail, Contacts, Calendars.
- Click Add Account.
- Then click Exchange.
- Now enter your Email address and Password,
- In the Description box, enter your email address
- Click Next.
- Your device will attempt to configure itself. If this fails, Enter the below:
- Server-
- Domain- blank
- Username: Your full email address
9. After that, click Next.
10. Lastly, click Save.
Open your Mail app after going to the Home Screen.
Emails, contacts, and calendar appointments should now download as expected.
Exchange Setup on Windows Phone
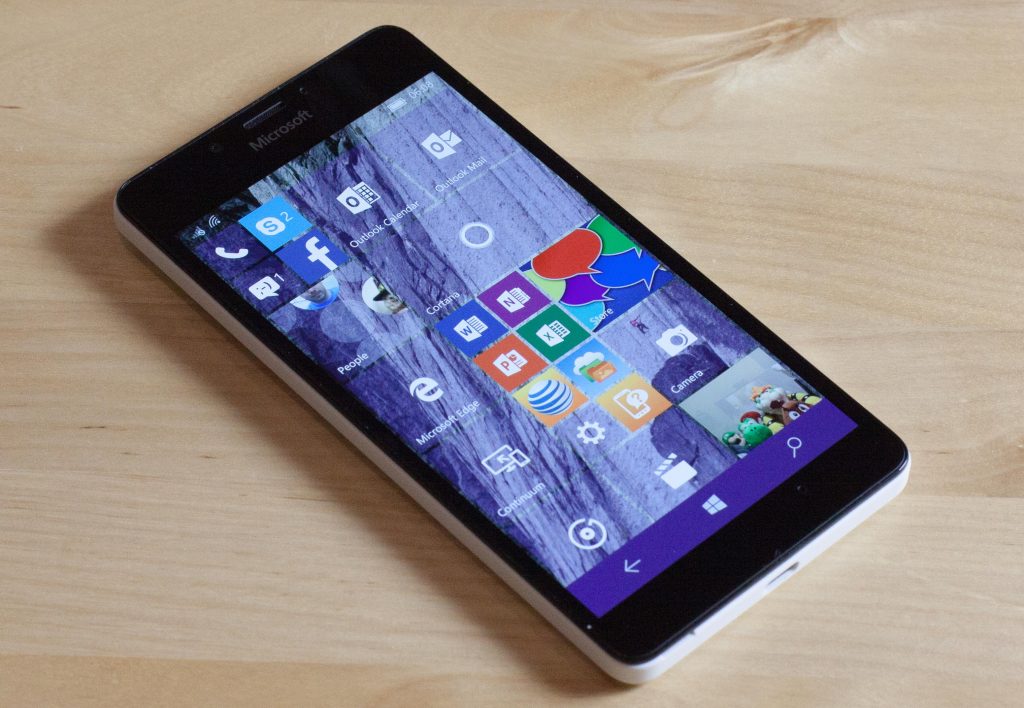
The Windows phone features an integrated email client, just like most other systems.
- Firstly, on the Start screen, slide left, and select Settings.
- Secondly, click Email + accounts.
- Next, click add an account, then click Outlook.
You may have the option to choose Exchange or Office 365 instead of Outlook, if so, select the appropriate option. - Then type in your Email address and password, click Sign in.
Windows Phone will try to configure everything for you.
If it manages this then head to step 8. - If you get a message saying “We couldn’t find your settings”, Select Advanced, and enter the below information:
- E-mail address- Your full Email address
- Password- Your password
- User name- Your full Email address
- Domain- Enter your domain name, e.g. hotmail.co.uk or company.com. Its the part after the @ symbol in your email address
- Server- Type in
Your emails will start to arrive when you check your Mail App.
Exchange Setup on BLACKBERRY 10
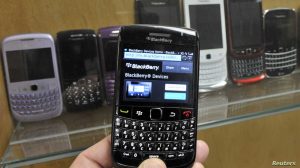
Follow these instructions to set up from Email on your BlackBerry 10 device.
- First and foremost, open the Settings menu,
- Select Accounts, and then choose Add Account at the bottom.
- Next, click Email, Calendar and Contacts.
- Then, type in your Email address
- Click Next.
- After that, type in your password
- Click Next
- At last, click Finish.
If Blackberry is unable to automatically configure your settings, try the following:
Exchange ActiveSync (EAS)
All of the standard exchange functionalities are offered by ActiveSync.
- Find the Settings menu,
- Select Accounts, and then choose Add Account at the bottom.
- Click Advanced at the bottom.
- Select Microsoft Exchange ActiveSync.
- Complete the following:
- Username- Your Full Email address
- Email Address- Your Full Email address
- Server Address- Type
6. Click Finish.
IMAP/POP
If all else fails to get email going, IMAP or POP with SMTP can be helpful. They won’t give you all the functions of your Exchange Server, but they can.
- To start, find the Settings menu.
- Next, select Accounts, and then choose Add Account at the bottom.
- Click “I will provide the settings to add this Email account”.
- At the bottom, click Next.
- Then, click Internet Service Provider Email (POP/IMAP)
- Click Next.
- After that, type in your full Email address for your user name (for example, [email protected]).
- Then scroll down and enter mail. for the incoming server
- Click Next.
- Proceed by typing in the mail. for the outgoing server
- Click Next.
- Finally, click Finish.
Check your emails are arriving by opening Mail.
