Setup Email as IMAP or POP3 in Outlook 2016
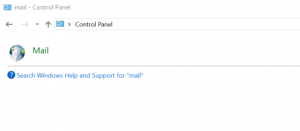
1. Firstly, go to Start > Control Panel > Mail
![](https://www.wesbytes.com/wp-content/uploads/2022/06/Control-Panel-Mail-select-Mail.png)
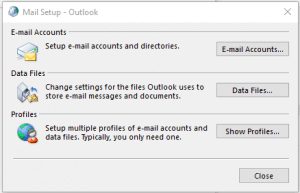
2. Click on Email Accounts.
![](https://www.wesbytes.com/wp-content/uploads/2022/06/Control-Panel-Mail-Email-Accounts.png)
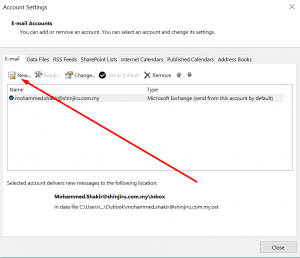
3. Click on New to add new account.
![](https://www.wesbytes.com/wp-content/uploads/2022/06/Control-Panel-Mail-Add-new-account.png)
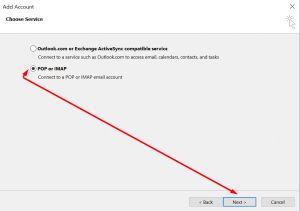
4. Next, Choose Manual Setup.
![](https://www.wesbytes.com/wp-content/uploads/2022/06/Control-Panel-Mail-choose-Manual-Setup.png)
5. After that, Choose to Setup IMAP or POP3 in Outlook 2016.
![](https://www.wesbytes.com/wp-content/uploads/2022/06/Control-Panel-Mail-setup-IMAP-or-POP3.png)
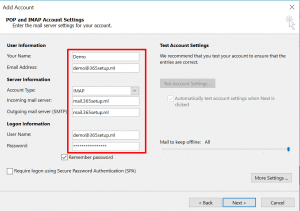
6. For IMAP Setup: Key in the user email information as well as the server configuration.
- Incoming mail server: yourdomain.com, PORT: 143
- Outgoing mail server: yourdomain.com, PORT: 587 or 26
- Click On More Settings to key in the port settings.
- Make sure the SMTP Authentication is Enabled.
- Once all the configuration done, your IMAP Setup is done as well.
![](https://www.wesbytes.com/wp-content/uploads/2022/06/Control-Panel-Mail-IMAP-Setup-Incoming-Outgoing-mail-server.png)
![](https://www.wesbytes.com/wp-content/uploads/2022/06/Control-Panel-Mail-IMAP-Setup-check-My-outgoing-serverSMTP.png)
![](https://www.wesbytes.com/wp-content/uploads/2022/06/Control-Panel-Mail-change-Outgoing-serverSMTP.png)
![](https://www.wesbytes.com/wp-content/uploads/2022/06/Control-Panel-Mail-Test-Account-Settings.png)
POP3 Setup
Enter the server settings and the user email information for POP3 Setup.
- Incoming mail server: yourdomain.com, PORT: 110
- Outgoing mail server: yourdomain.com, PORT: 26 or 25 or 587
- Click On More Settings to key in the port settings.
- Make sure the SMTP Authentication is Enabled.
- Once all the configuration done, your POP3 Setup is done as well.